
OpenVPN Server
How to Setup OpenVPN Server in Ubuntu 20.04/22.04 [The Easy Way]
This simple tutorial shows how to easily setup OpenVPN in your Ubuntu 20.04 | 22.04 server and connect remotely in Windows or Linux with GNOME.
My PPTP and IKEv2 VPN server refused to work recently due to the Great Firewall (maybe). So I decided to setup OpenVPN in my Ubuntu VPS as a workaround.
DigitalOcean has a step by step setup guide, but it’s really long and complicated for beginners. Thankfully, there’s a free open-source script make things as easy as few commands.
Step 1: Install OpenVPN
First, connect to your Ubuntu/Debian server either via SSH or other method that you favorite. Then grab the script by wget:
wget https://git.io/vpn -O openvpn-install.shIn case wget command does not exist, install via sudo apt install wget
After downloaded the script, add executable permission via command:
chmod u+x openvpn-install.shFinally, run the script:
sudo bash openvpn-install.shIt will ask you a few questions to confirm IP address if your server is running behind NAT, choose UDP or TCP, set which port to listen to, and select a NDS server. For lazy men, it’s OK hit Enter to use default for all previous questions.
But, you need to finally type a name for the client. It will create a .ovpn file with the name you just typed.
Step 2: Copy & paste the .ovpn to client machine
As the screenshot above shows you, it generates the .opvn file in /root directory in my case. In case you logged in via non-root user, copy the file to user’s home via:
sudo mv /root/*.ovpn ~/ && sudo chown $USER:$USER *.ovpnFinally, you need to send the file to client machine, such as running the scp command below in your client PC (run this command in client/local machine):
scp -P 22 username@server-ip:~/*.ovpn ./Replace * with the filename, though it works if there no other .ovpn files. And, change port number 22 if non-default SSH listening port in use.
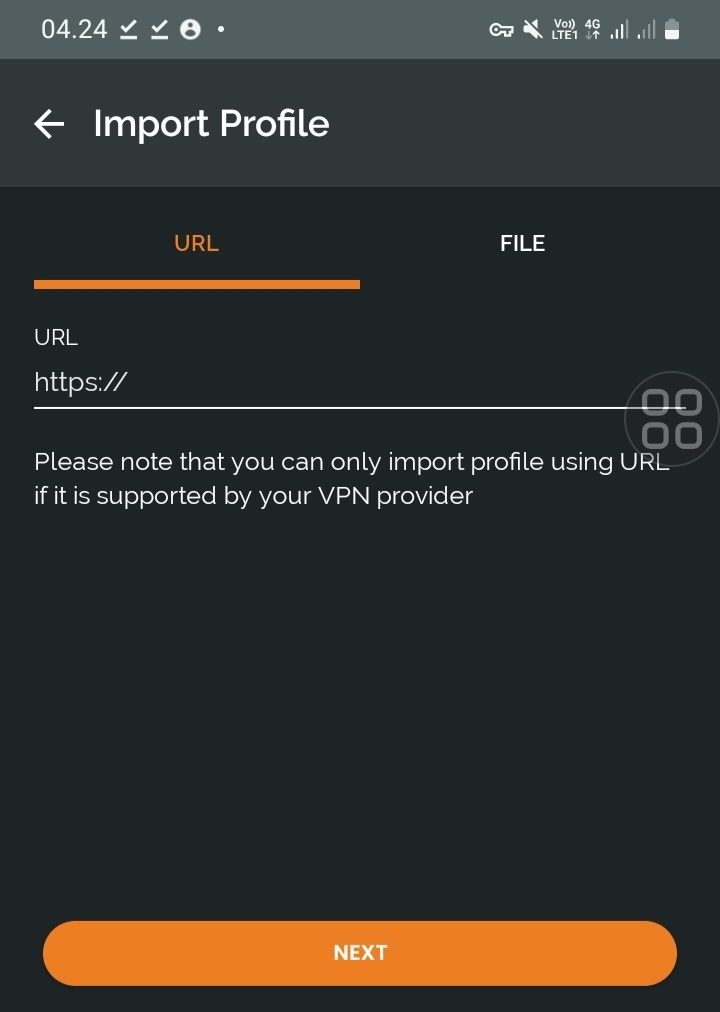
Step 3: Connect to OpenVPN server in Ubuntu/Fedora
Import Profile
select files
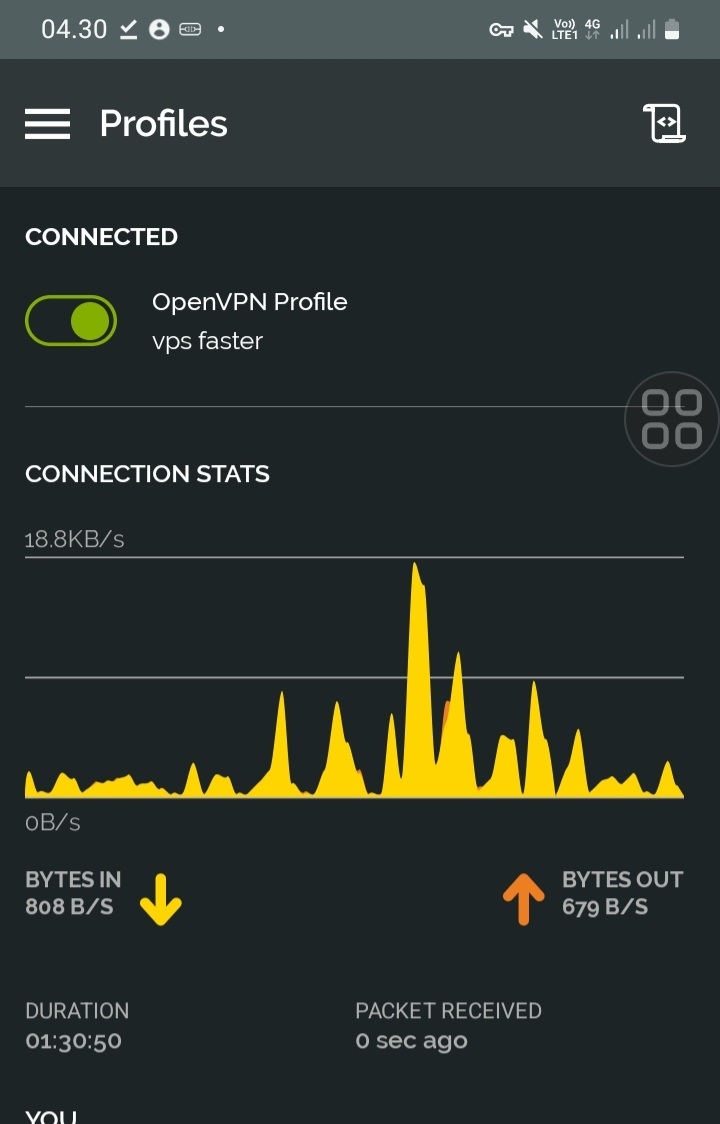
Finally Screenshot
turn on vpn
Thank you for reading this article !!
BY RANDY
Last updated
Was this helpful?